1. Getting Started
Everything you need to set up your account and start using Stone Project.
1.1 Creating Your Account
To create a new Stone Project account:
- Open the app or visit the web version.
- Tap Create Account on the welcome screen.
- Fill in the required information:
- Full name
- Email address
- Password (minimum 8 characters)
- Optionally, tap Have a referral code? to enter a code from someone who referred you. This links your account to their affiliate program.
- Accept the Terms of Service and Privacy Policy.
- Tap Sign Up.
You will receive a verification email to confirm your account (see 1.3 Email Verification).
1.2 Social Sign-In (Google & Apple)
For faster account creation, you can sign in with your existing accounts:
Google Sign-In:
- Tap Continue with Google.
- Select your Google account or enter your credentials.
- Grant the requested permissions.
- You will be redirected to the app.
Apple Sign-In:
- Tap Continue with Apple.
- Authenticate with Face ID, Touch ID, or your Apple ID password.
- Choose whether to share or hide your email address.
- You will be redirected to the app.
Note: Social sign-in automatically verifies your email address.
1.3 Email Verification
If you registered with email and password, you need to verify your email:
- Check your inbox for an email from Stone Project.
- Tap the Verify Email link in the email.
- You will be redirected to the app with a confirmed account.
Didn't receive the email?
- Check your spam/junk folder.
- Tap Resend Verification Email on the verification screen.
- Make sure you entered the correct email address.
1.4 Onboarding Walkthrough
After your first login, the app asks a few setup questions, in this order:
- Your name (only if you signed in with Google or Apple and it did not come through).
- Account type: pick Fabricator to run your shop in Stone Project.
- Preferences: language (English, Portuguese, Spanish or Italian), unit of measurement (inches or centimeters) and currency.
- Location and notifications permission (phone and tablet apps only; you can say no and turn them on later in Settings).
- Company setup: company name, address and logo (the logo is optional and can be added later).
- Welcome tour: a few pages on what the app does. Skip takes you to the Dashboard; finishing the tour opens your first project, so you can start the first quote right away.
Your First Quote in Five Minutes
You do not need a price list, a real customer or any setup to send your first quote. The fastest path:
- New Project. Finishing the welcome tour opens it. Later, use Create Quote on the Get Started card of the Dashboard, or + on the Projects screen.
- Customer. On your first project, the New to Stone Project? Quick Test box offers Use quick sample customer: it creates a test customer so you can go straight to drawing. To quote a real job, add the real client instead (name and email are enough to send).
- Save, then pick Draw Countertop & Create Quote.
- Draw the countertop (Step 1: Draw Shape). Edges, cutouts and corners are optional for a first price.
- Choose the stone. The bar at the bottom says Choose a stone to price this job and takes you to Material & Color. Search the color by name.
- Type your price if the stone has none. A new account has thousands of colors and only a few come with a price. A stone without one shows No price · Set price: tap it and type your price per sq ft (or per slab). Without a price the stone bills $0. Fabrication or installation lines still at $0 in your price list get the same notice on the Quote Summary, with a field to type the price.
- Next: Quote Summary, check the total, then Create Quote. The quote opens with the project, the customer and the drawing already filled in.
- Send. Send to Client emails it from the app, or use Share Link / Send via WhatsApp. Any of these marks it Sent, starts the follow-up reminders and checks Send your first quote off the Get Started card.
Anything you skip here (logo, tax rate, price list, team) can be done later from the Get Started card on the Dashboard.
1.5 Setting Up Your Company Profile
A complete company profile helps other fabricators find and trust your business. To fill out your profile:
- Go to Settings > Company Profile (or tap your company name in the sidebar).
- Complete the following fields:
| Field | Description |
|---|---|
| Company Name | Your legal business name |
| Trade Name | Name displayed to other users |
| Phone / WhatsApp | Contact number for inquiries |
| Business contact email | |
| Description | Brief description of your business and specialties |
| Logo | Company logo image |
| Address | Full business address (used for location-based search) |
| Business Hours | Your operating hours for each day of the week |
Tip: Companies with complete profiles and photos receive more inquiries from buyers.
1.6 Navigating the App
Main Navigation
The app uses a bottom navigation bar (mobile) or sidebar (tablet/desktop) with these main sections:
| Icon | Section | Description |
|---|---|---|
| Home | Dashboard | Your main hub with key metrics and quick actions |
| Search | Search | Marketplace (on a phone it can be Jobs, see 12.5) |
| Draw | Drawing Tool | Design countertops and generate quotes |
| Chat | Messages | View and respond to conversations |
| Menu | More | Access settings, CRM, billing, and other features |
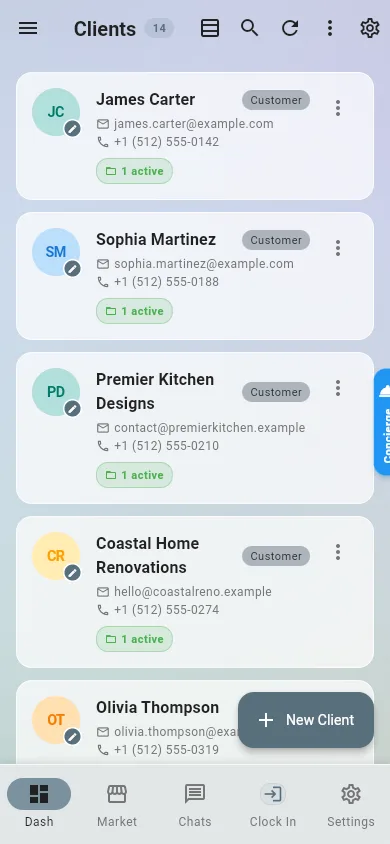
Dashboard
Your Dashboard provides an at-a-glance overview of your business:
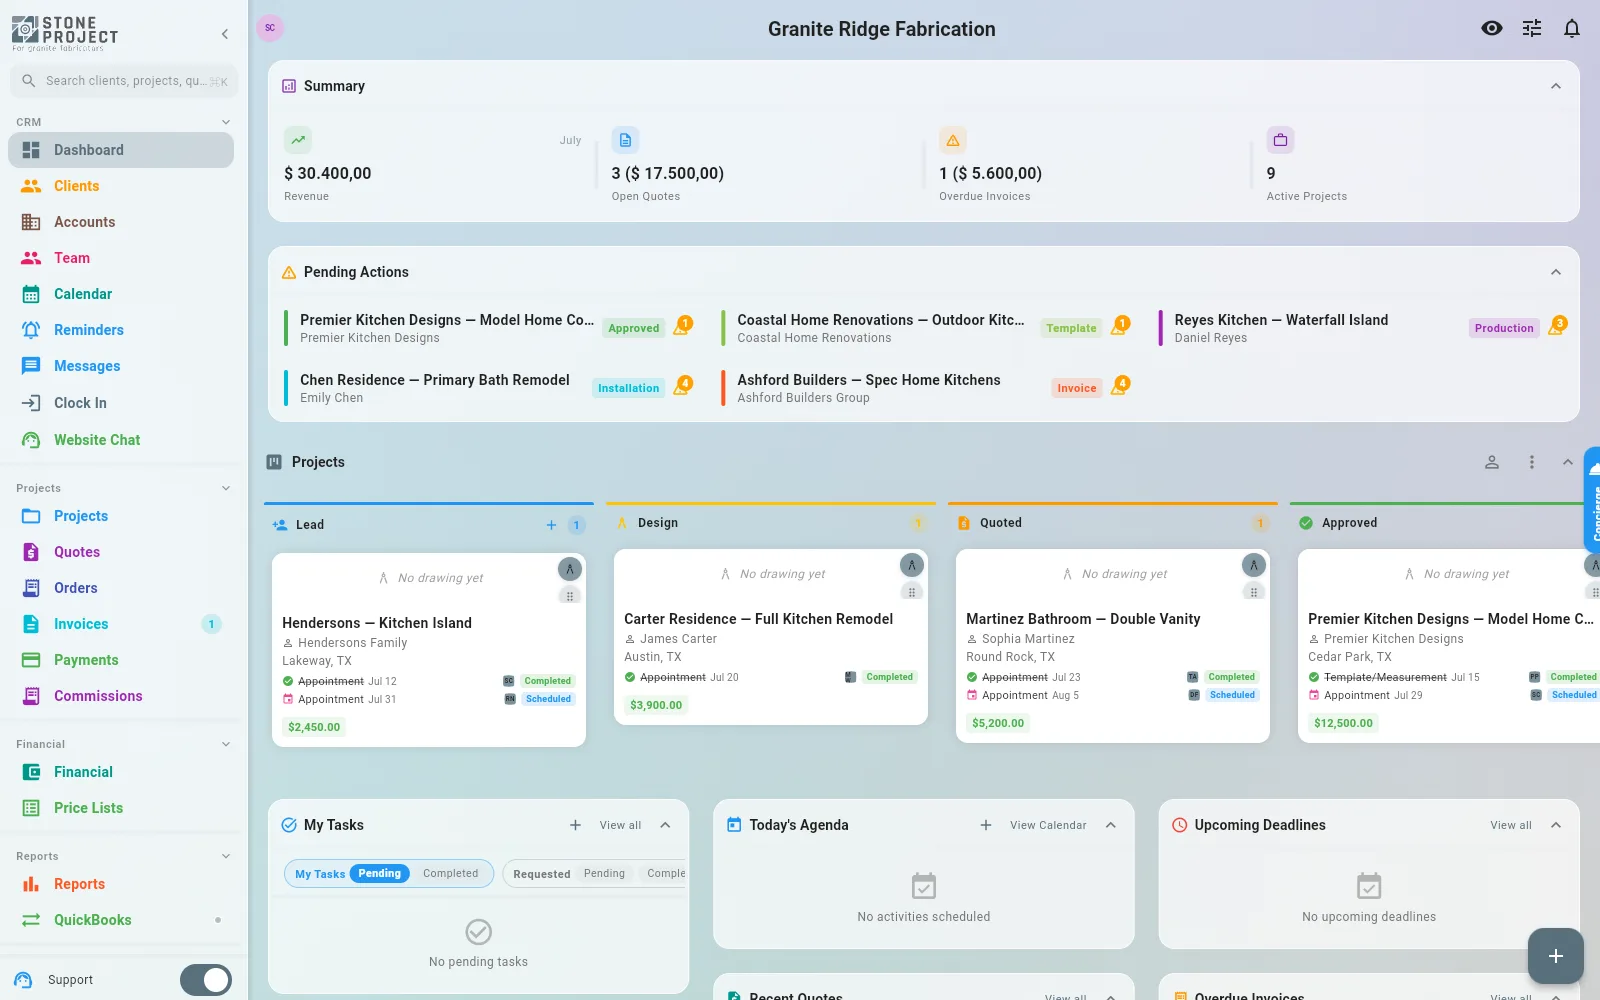
- Active pieces listed on the marketplace
- Recent messages and inquiries
- Upcoming events (Pro)
- Quick actions to add pieces, create quotes, or manage clients
- Analytics widgets showing views, favorites, and engagement (Pro)
- Setup Checklist — A guided checklist that helps you complete your company profile and configure your business (facilities, team, pricing, clients). Individual items can be dismissed as you complete them, or you can dismiss the entire checklist once you're set up.
Quick Actions
From the Dashboard, you can quickly:
- Add a Piece — List a new remnant on the marketplace
- New Quote — Start the drawing tool wizard
- Add Client — Create a new CRM contact (Pro)
- Scan QR Code — Scan a piece's QR label for quick access